This guide walks you through the steps to get your first line connected and receiving actionable intelligence.
Prerequisites
Before starting, ensure the following are in place:
- An active MadeOS account (create an account and request access at app.madeos.ai)
- Facility network access (VLAN or dedicated connection)
- PLCs or sensors with standard industrial protocol OPC UA
- At least one industrial PC or server on-site (minimum 6 cores, 8 GB RAM, 200 GB storage)
- Google Chrome or Mozilla Firefox (latest version) for the dashboard
Deployment Options
MadeOS supports two deployment paths. Choose the one that matches your infrastructure:
| Feature | Edge Device | Software + API |
|---|---|---|
| Installation | On-site by Made OS team | Self-install on your PC or server |
| AI Processing | Local inference on NVIDIA Jetson | Managed cloud inference |
| Latency | Sub-10ms local | Cloud round-trip |
| Hardware | Up to 67 TOPS NVIDIA inference | Your existing industrial PC |
| Setup Time | 1–2 days per line | Under 1 hour |
Step 1 — Create Account and Request Access
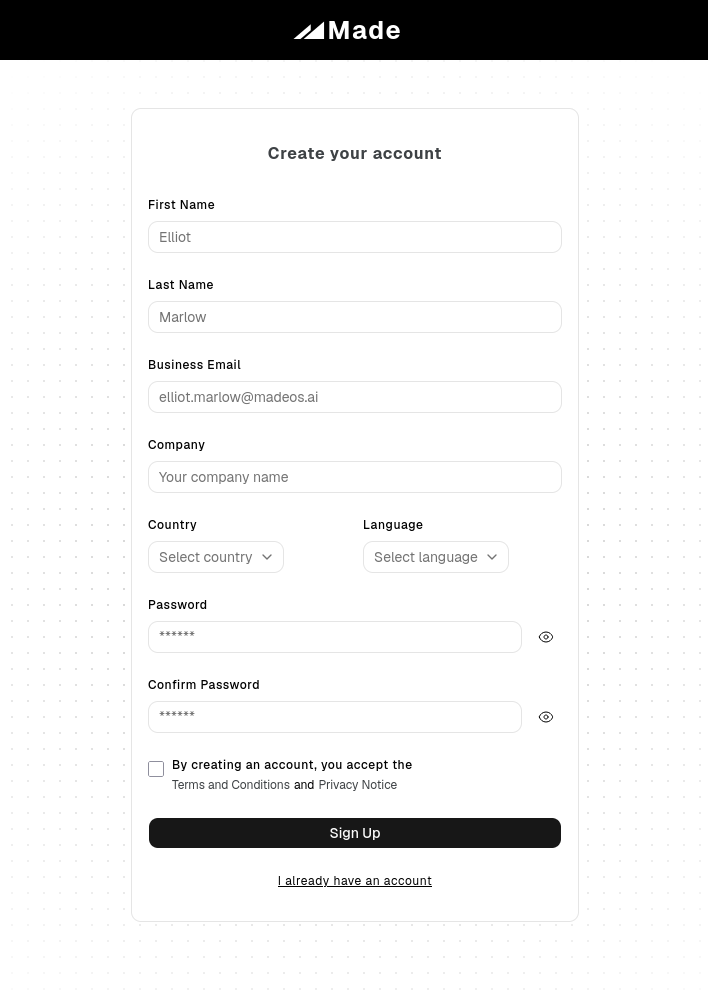
Create an account at app.madeos.ai - sign up:
After creating your account, you will need to confirm your email before accessing the app.
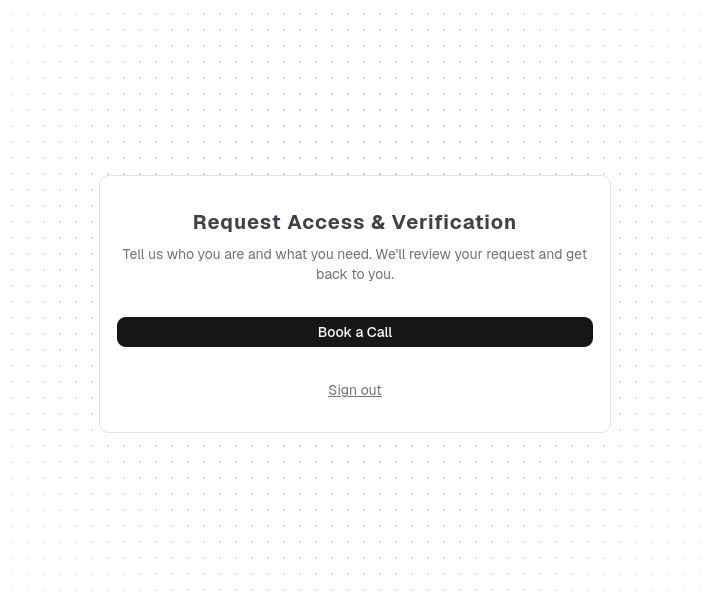
Once your email is confirmed, you can log in to the app and request access to the MadeOS platform. For security reasons, you will need to book a call with our team to verify your identity and get access.
Step 2 — API client setup
For the API deployment path, you will need to set up an API client that can connect to the MadeOS cloud.
First, download the MadeIO API client software for your preferred OS:
- Windows 10 or later Download MadeIO x64
- Ubuntu/Debian Download MadeIO x64
For Windows:
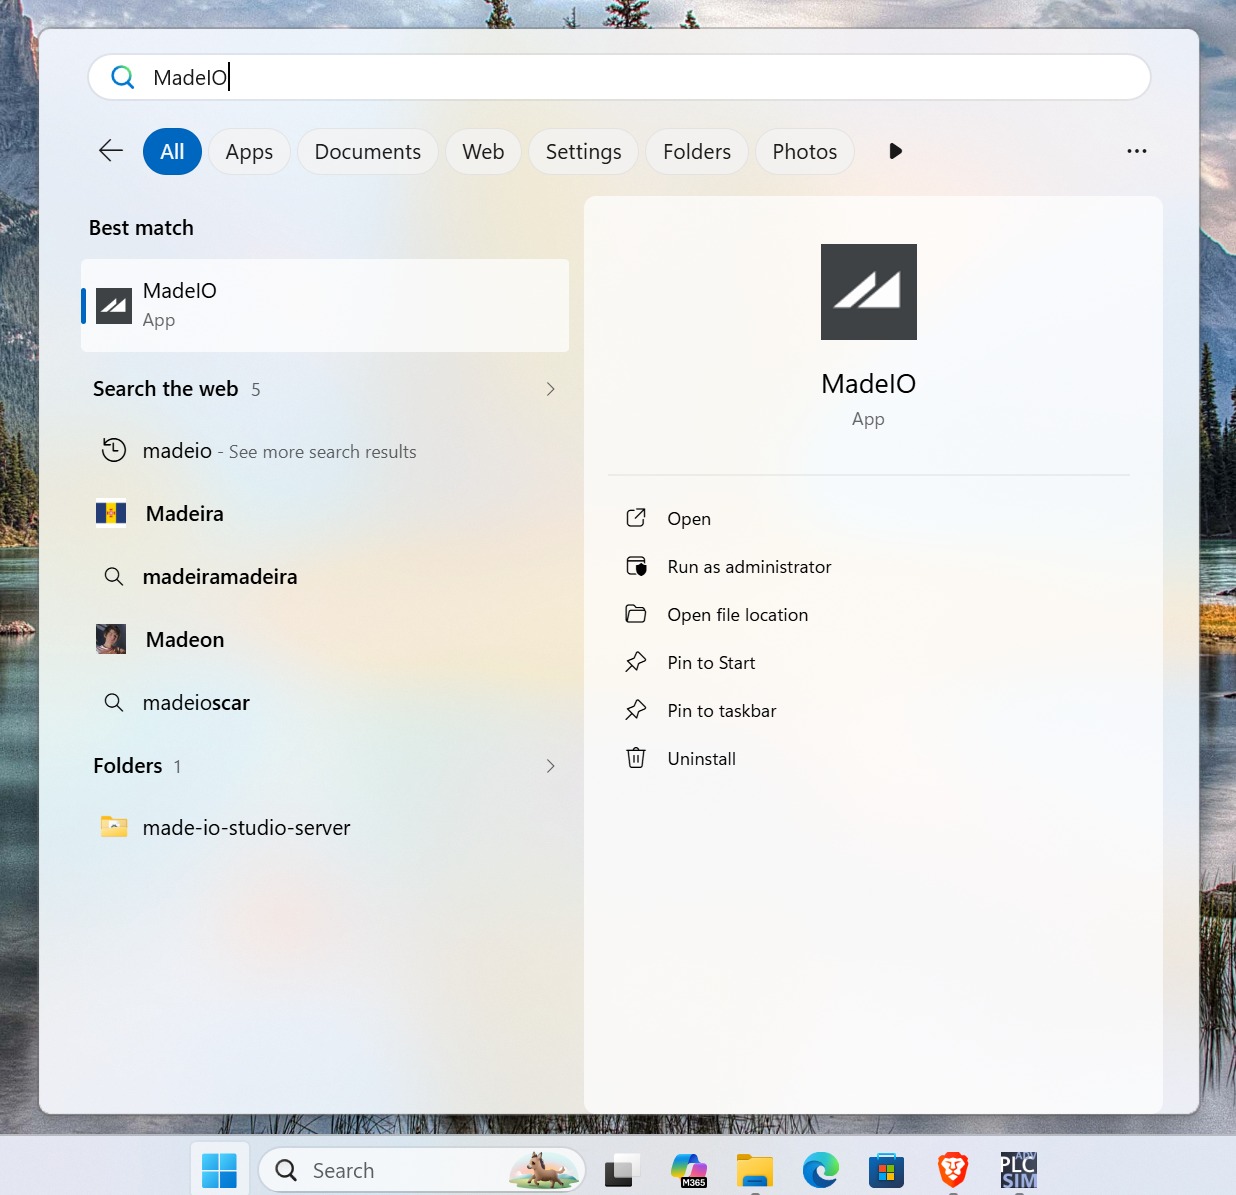
Once downloaded, run the installer and the software will be installed on your system.
You will find the application in the Start menu or on the desktop.
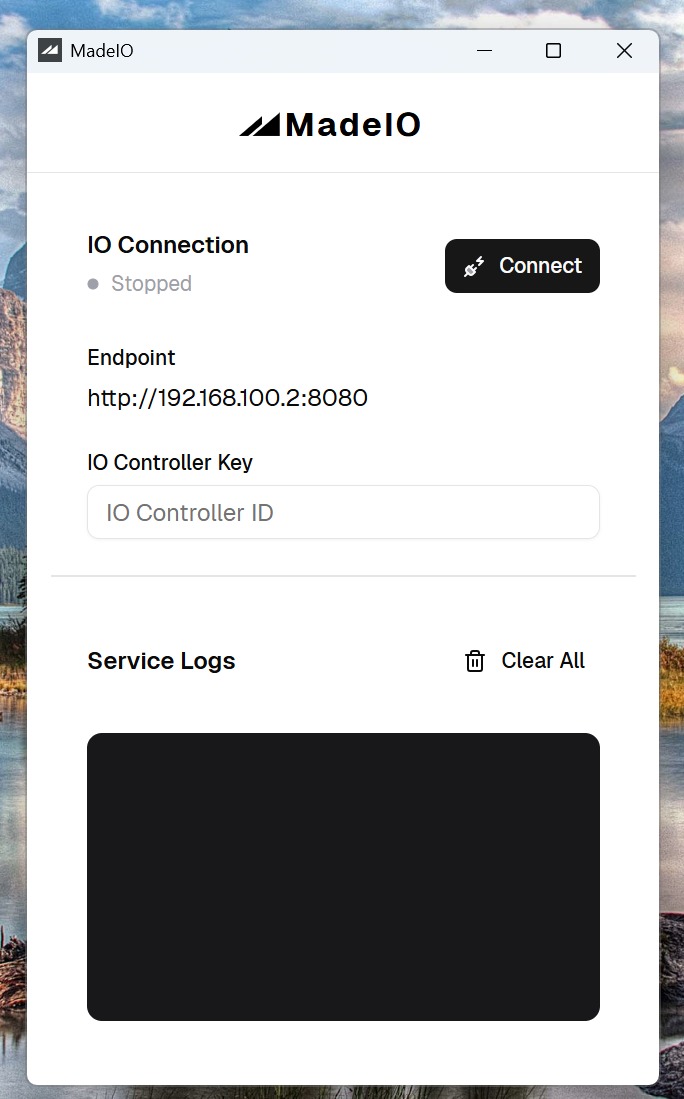
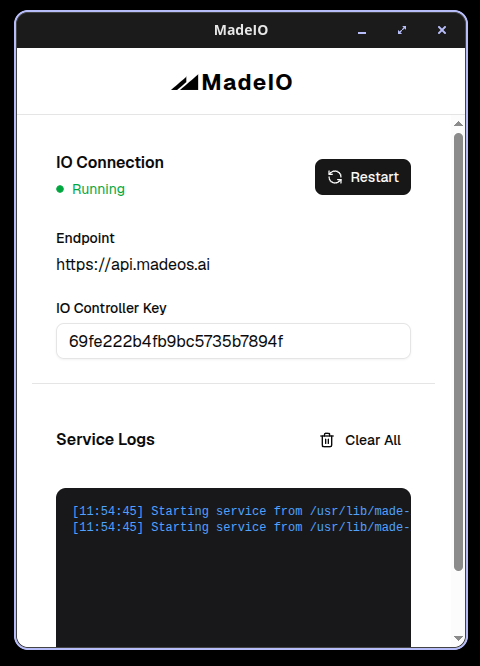
Open the application and you will see the following to connect to MadeOS API:
For Ubuntu/Debian:
Once downloaded, you will need to go to the directory using the terminal where the .deb file is located and run the following command:
sudo dpkg -i filename.debAfter the installation is complete, you can find the application in the applications menu.
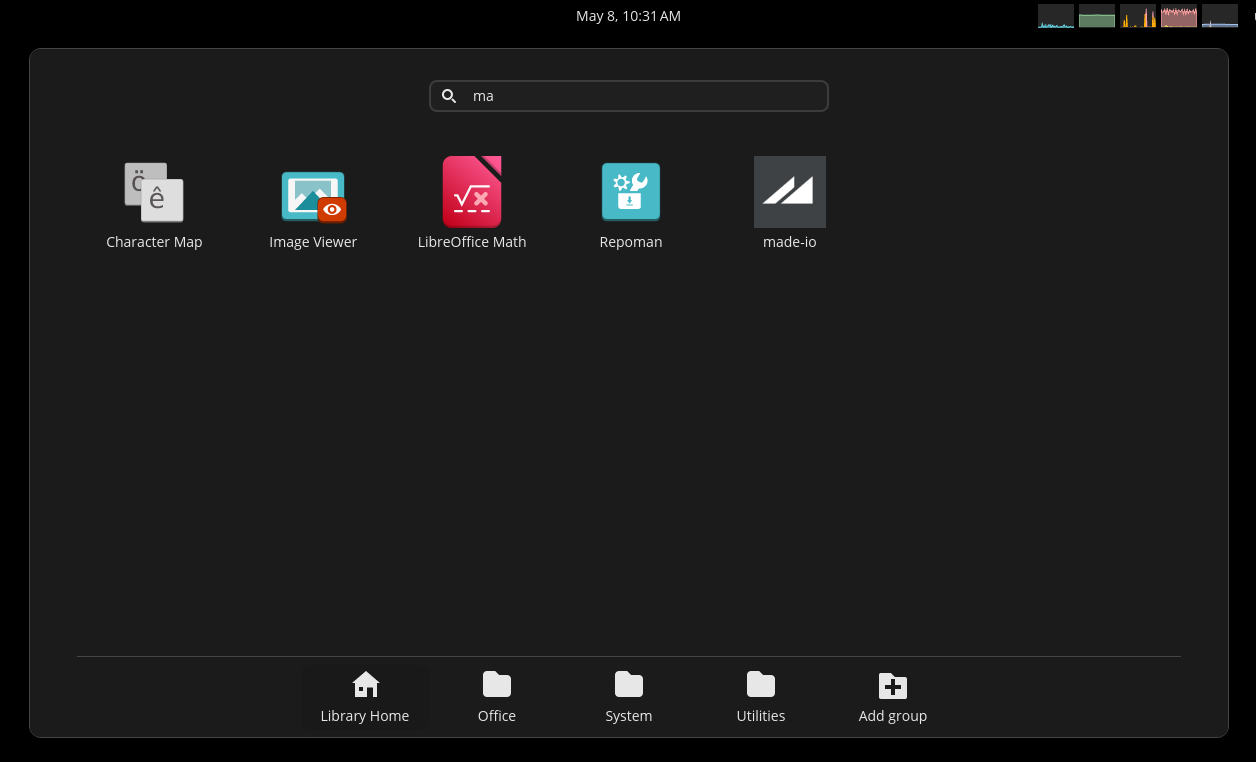
Open the application and you will see the following to connect to MadeOS API:

Step 3 — Connect PLCs and Machines to MadeOS
Once access is confirmed by the MadeOS team, the next step is to configure your Production Line with your PLCs and Machines in the MadeOS platform. The connection is established read-only — MadeOS does not write to your control systems.
Before you begin, you will need to:
- Configure the OPC UA server on your PLC/Machine, ensuring it is accessible with the following settings:
- Host: opc.tcp://{ip}
- Port: 4840 or your custom port
- Security: None (or appropriate security settings)
- Access control: Allow connections from MadeOS platform IP
- Connect PLCs/Machines and the computer that is running the MadeIO software to the same network via Ethernet-RJ-45.
First Production Line
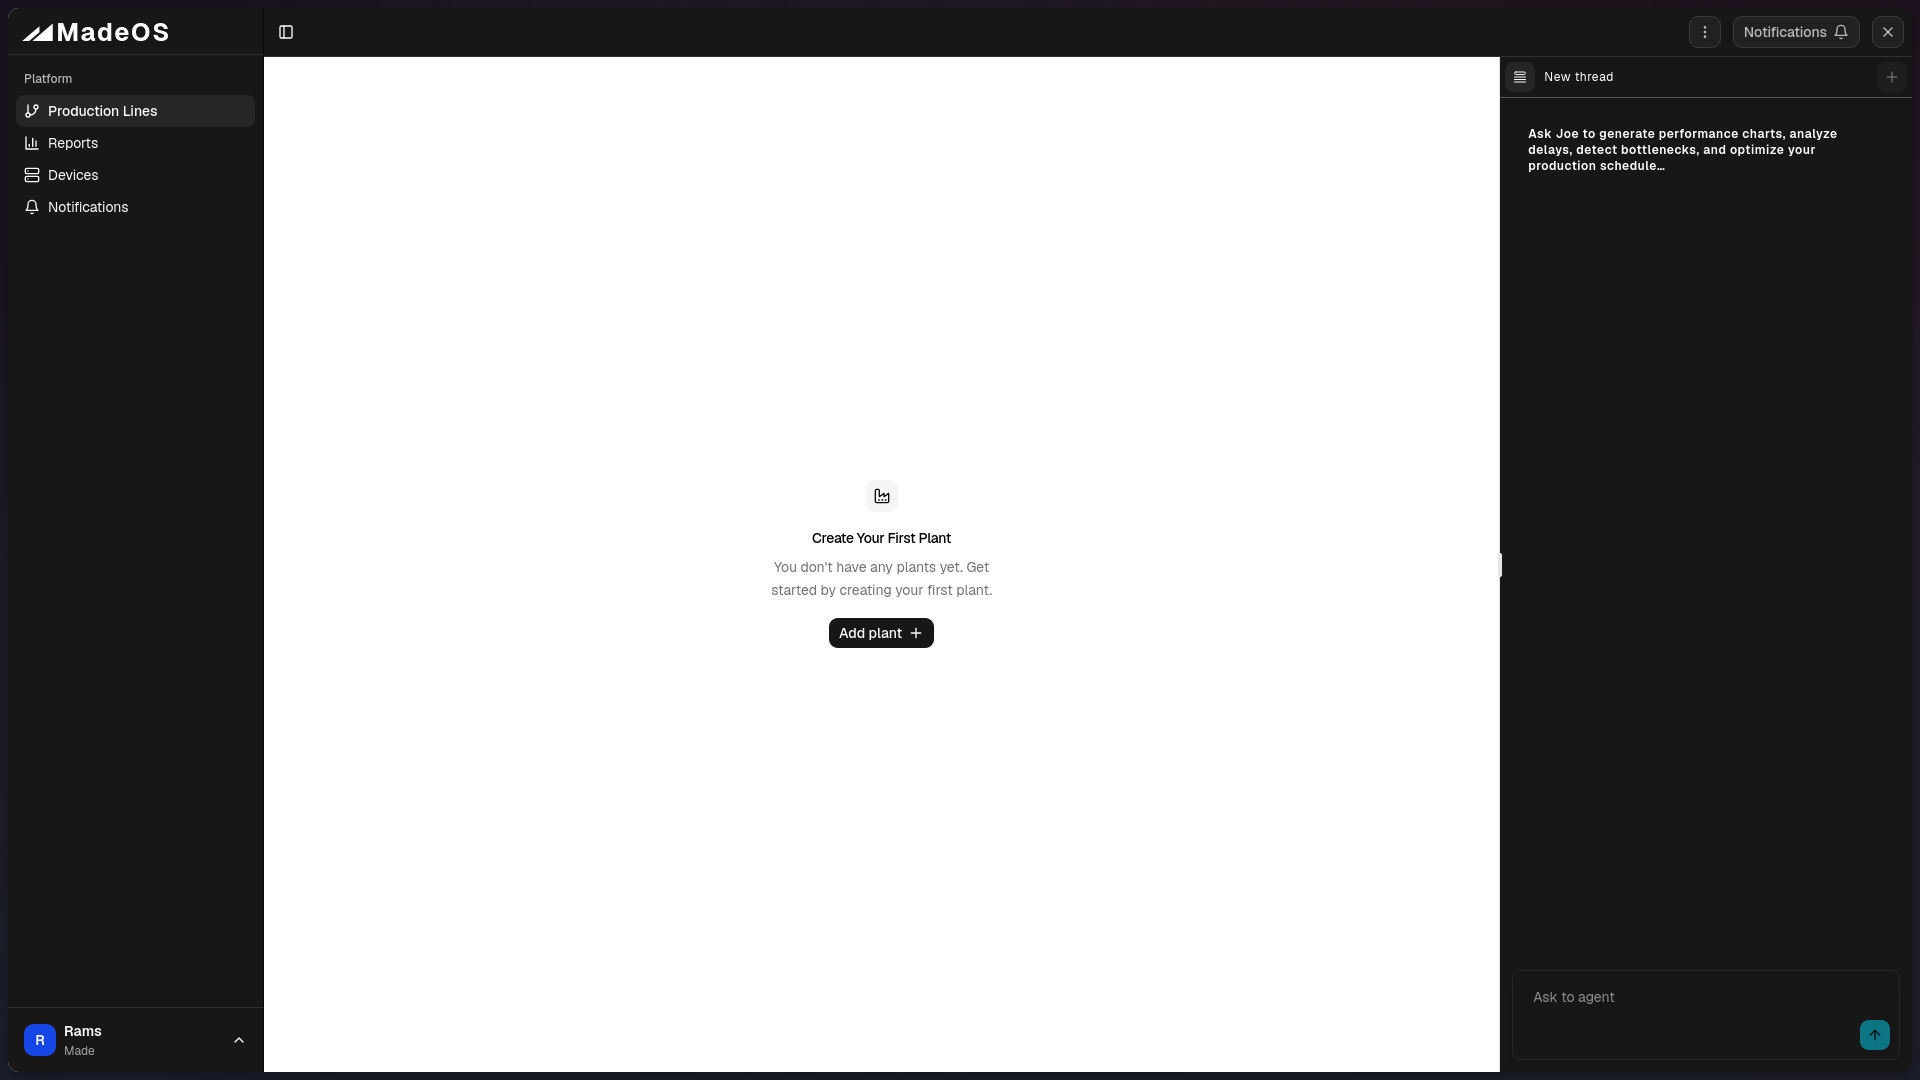
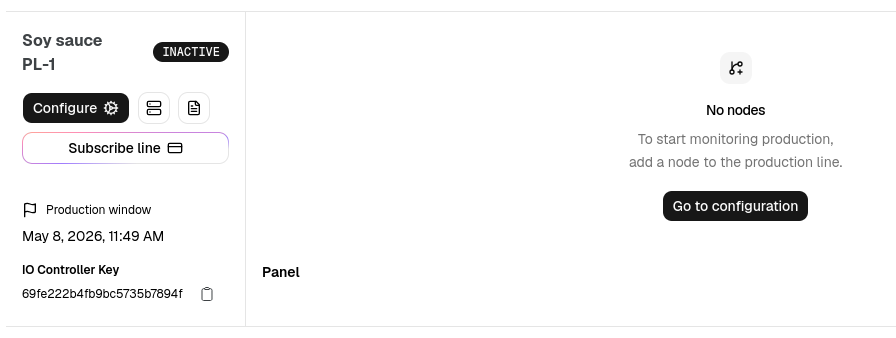
Log in to the MadeOS platform after getting access.
Create a Plant and add your first Production Line.
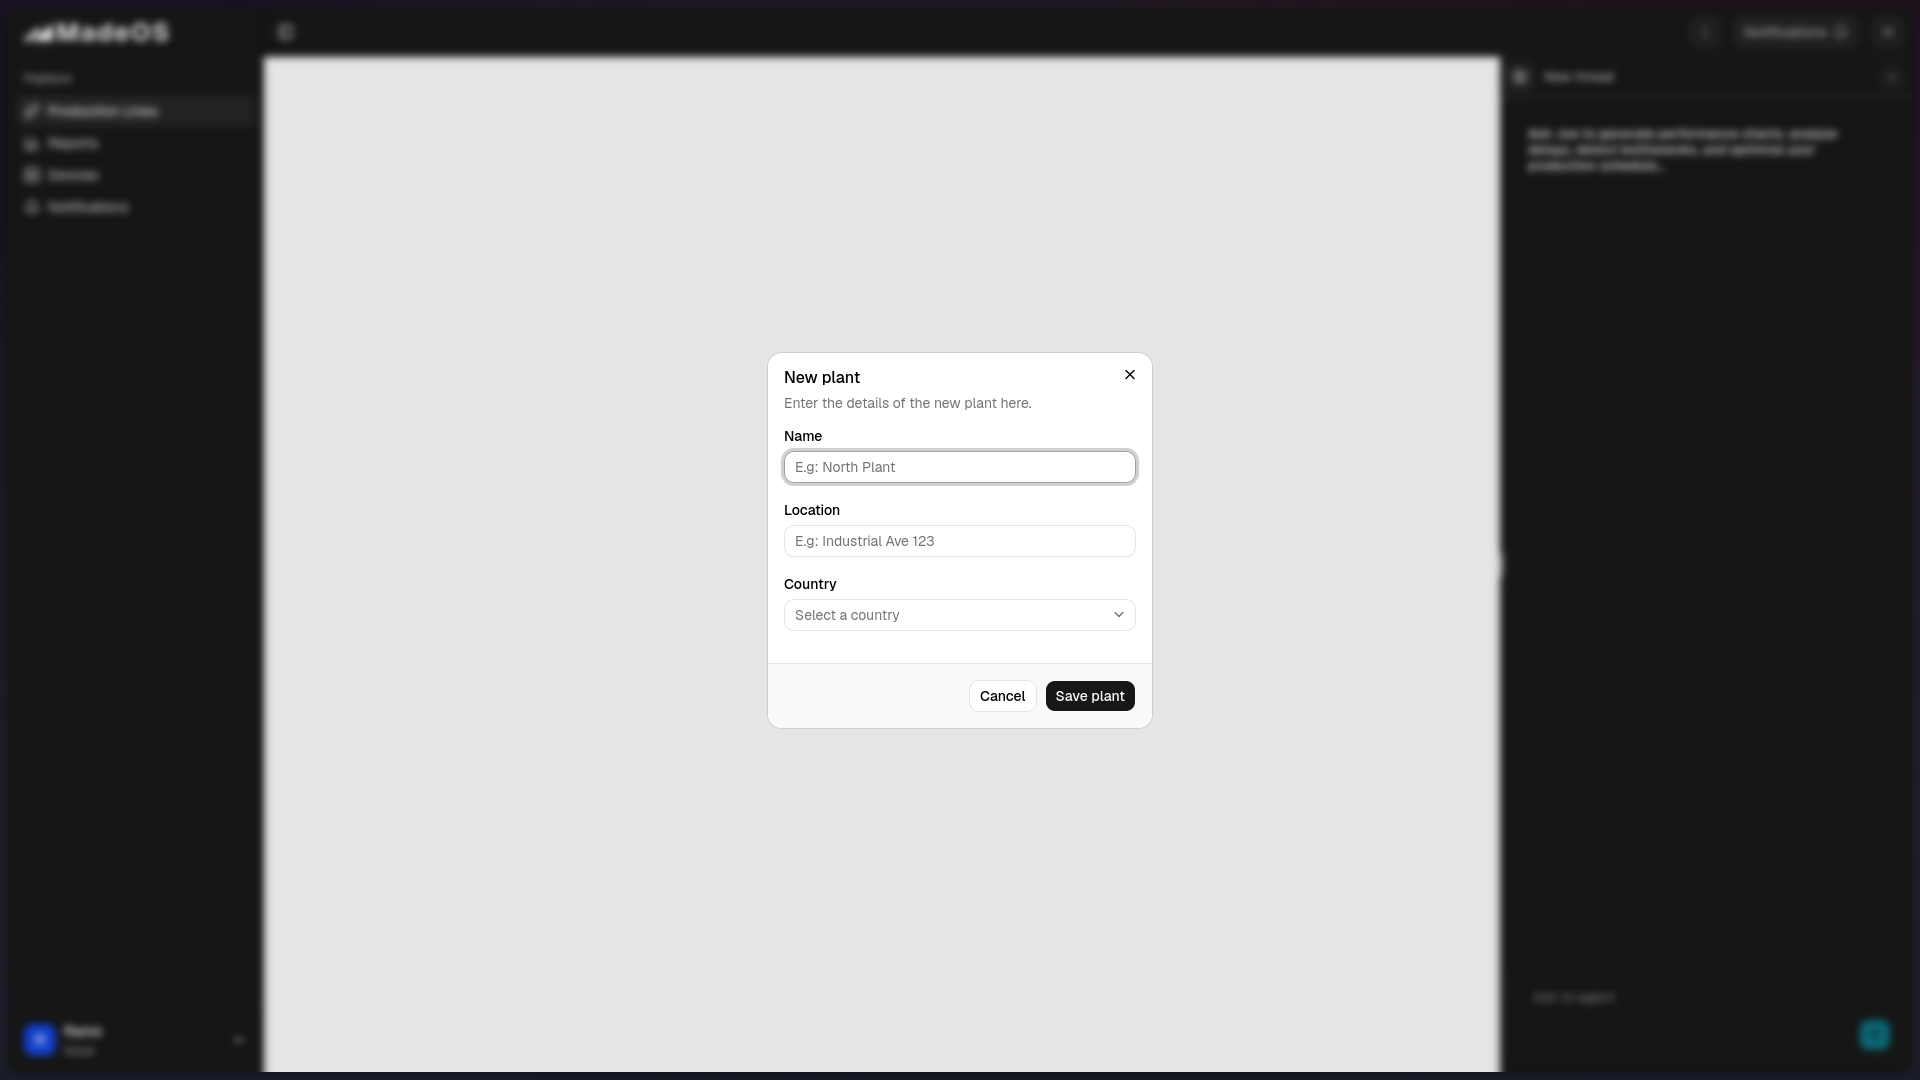
Create plant:
Create production line:
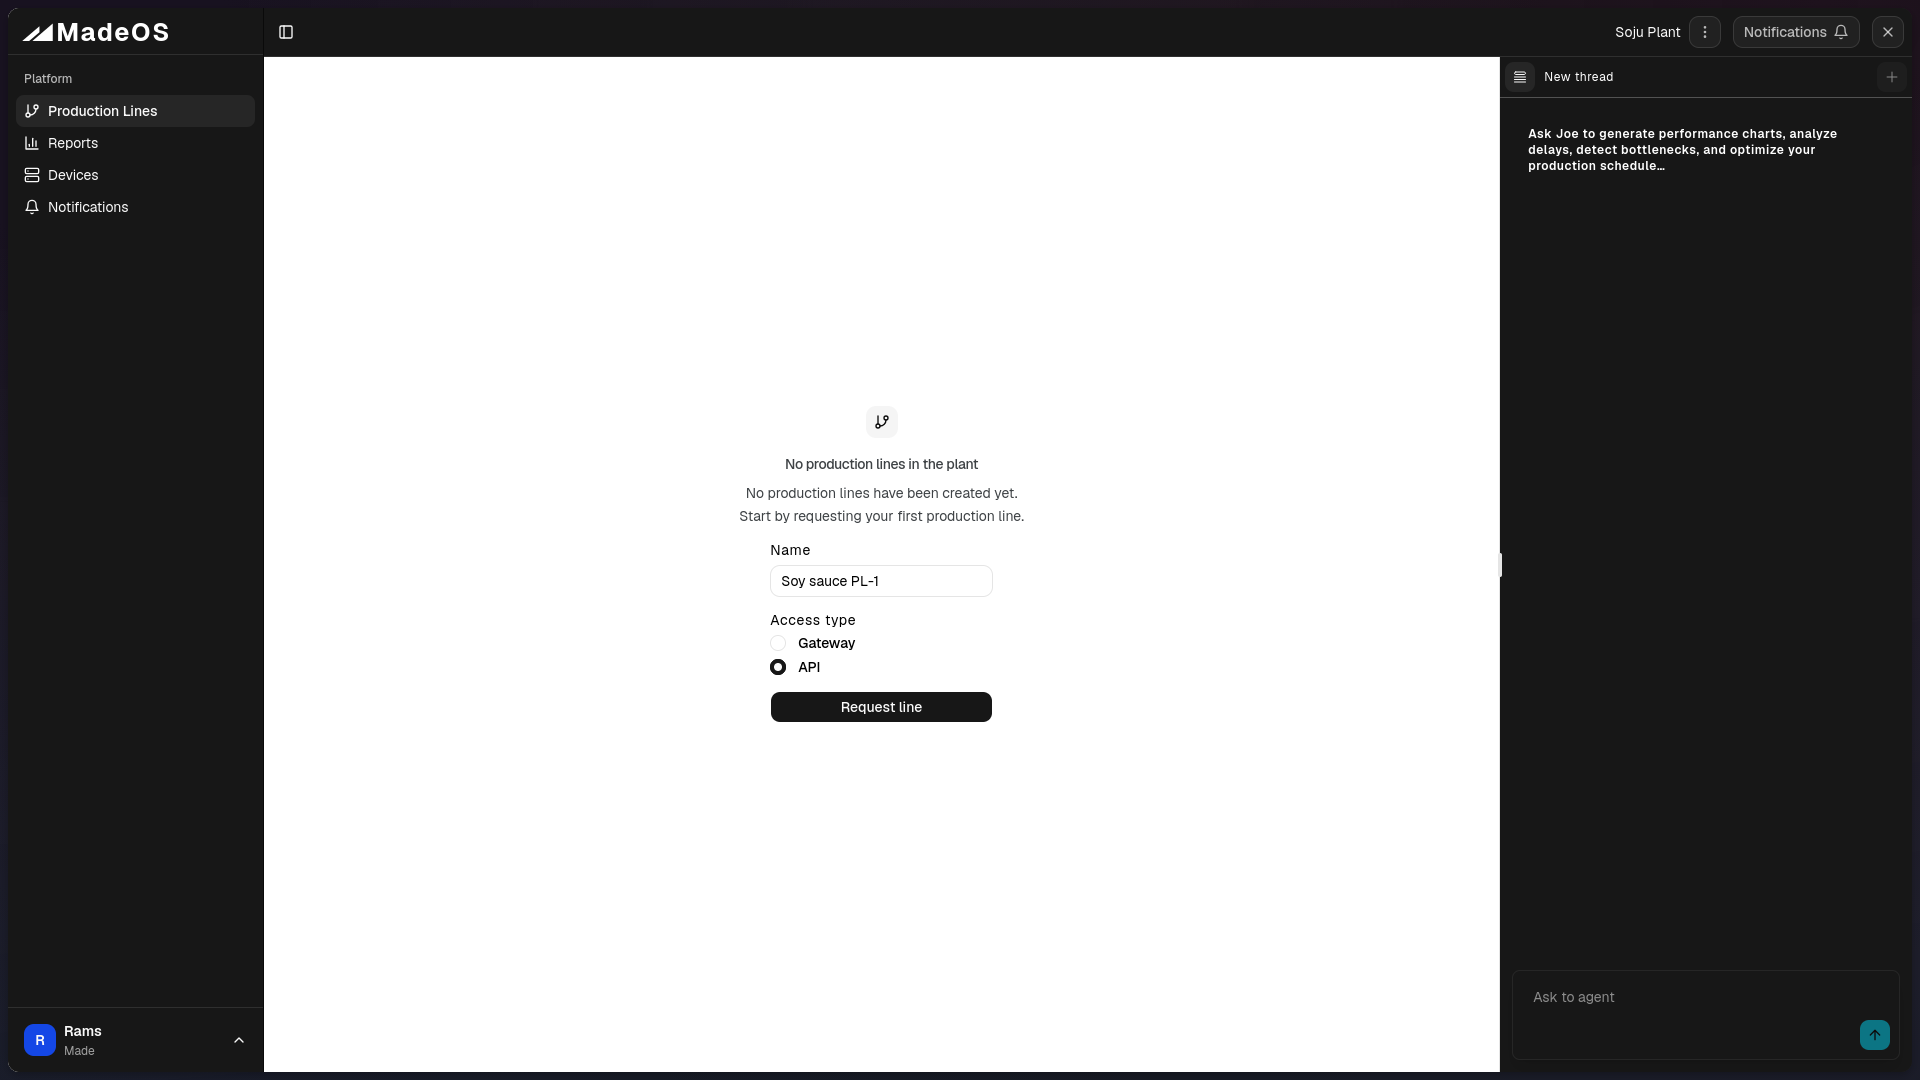
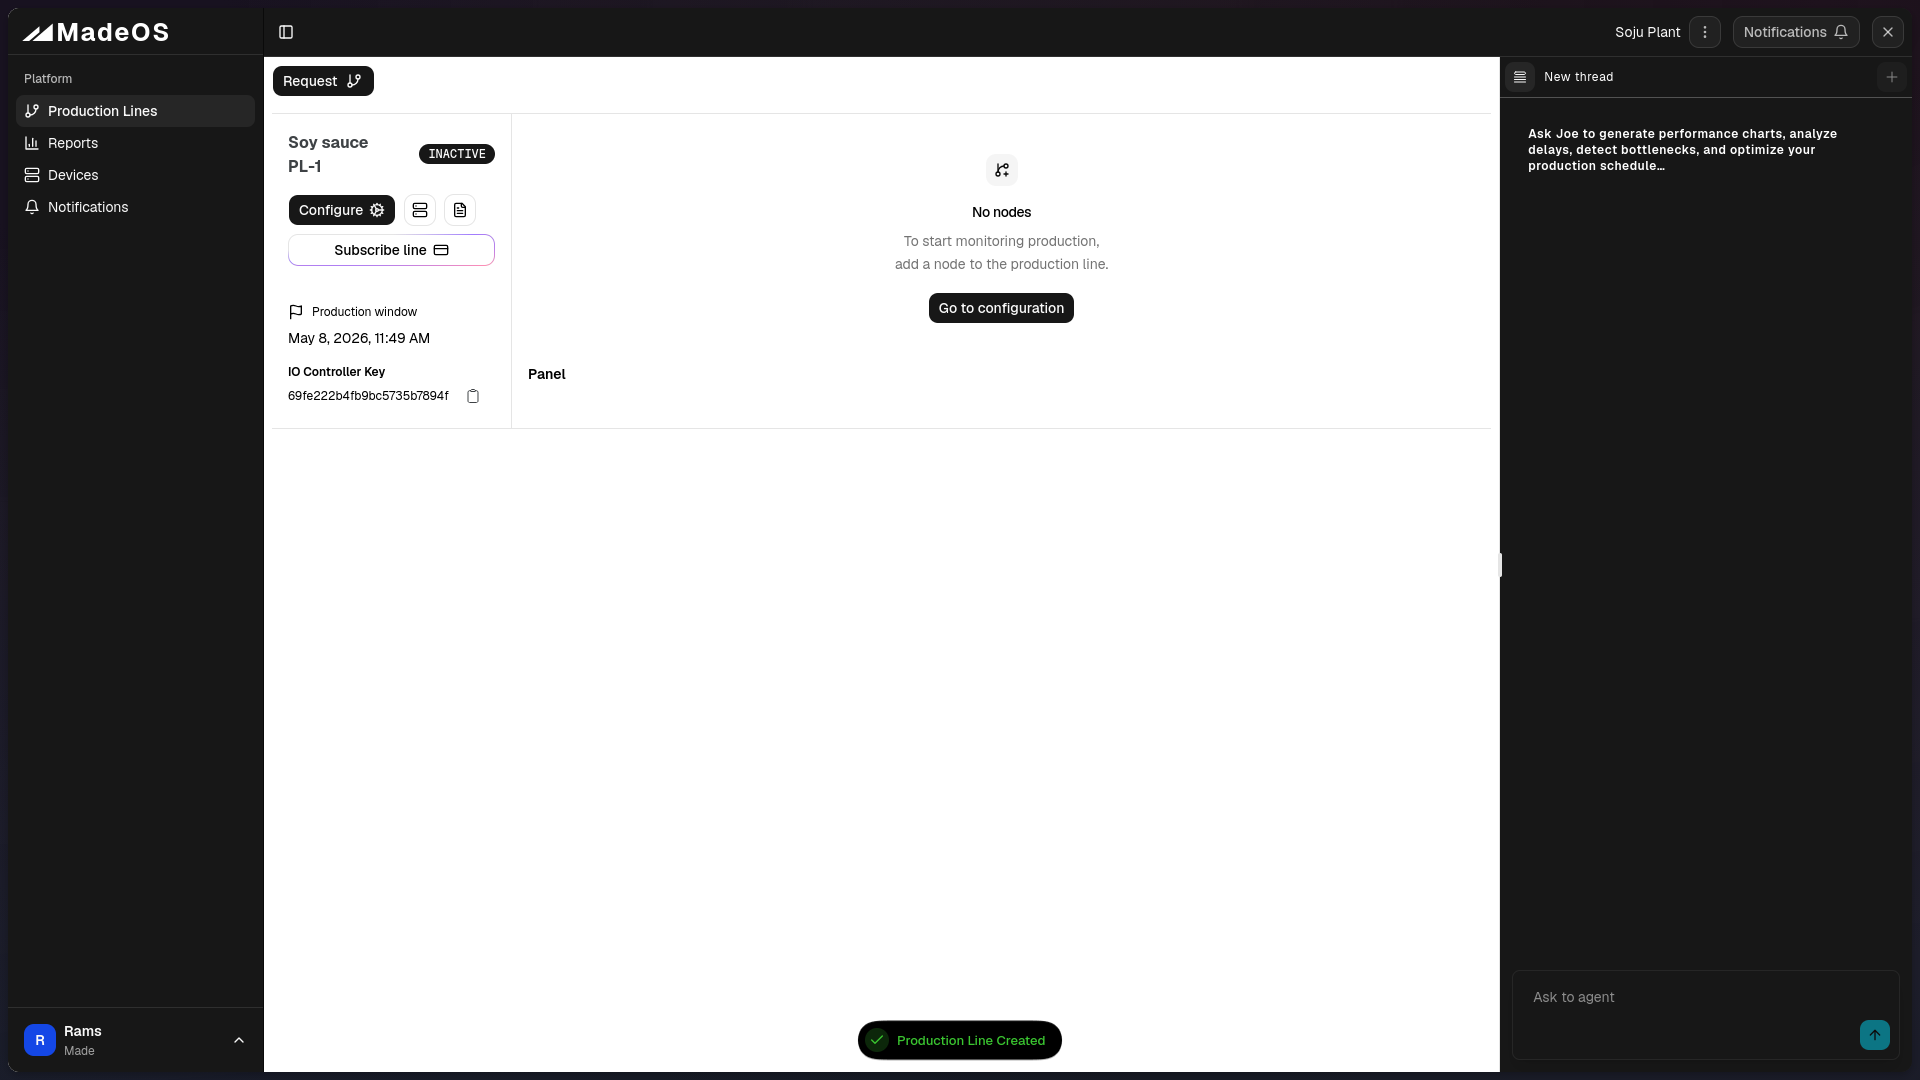
Once the Production Line is created, copy the IO Controller Key from the production line details, paste it into the MadeIO software and click “Connect”.
Once the connection is established, the MadeIO software will try to connect to every device in your plant and production line, sync devices and send real-time data to the MadeOS platform.
Finally, you will see the in the Devices Resources dialog that your plant and production line are now connected.
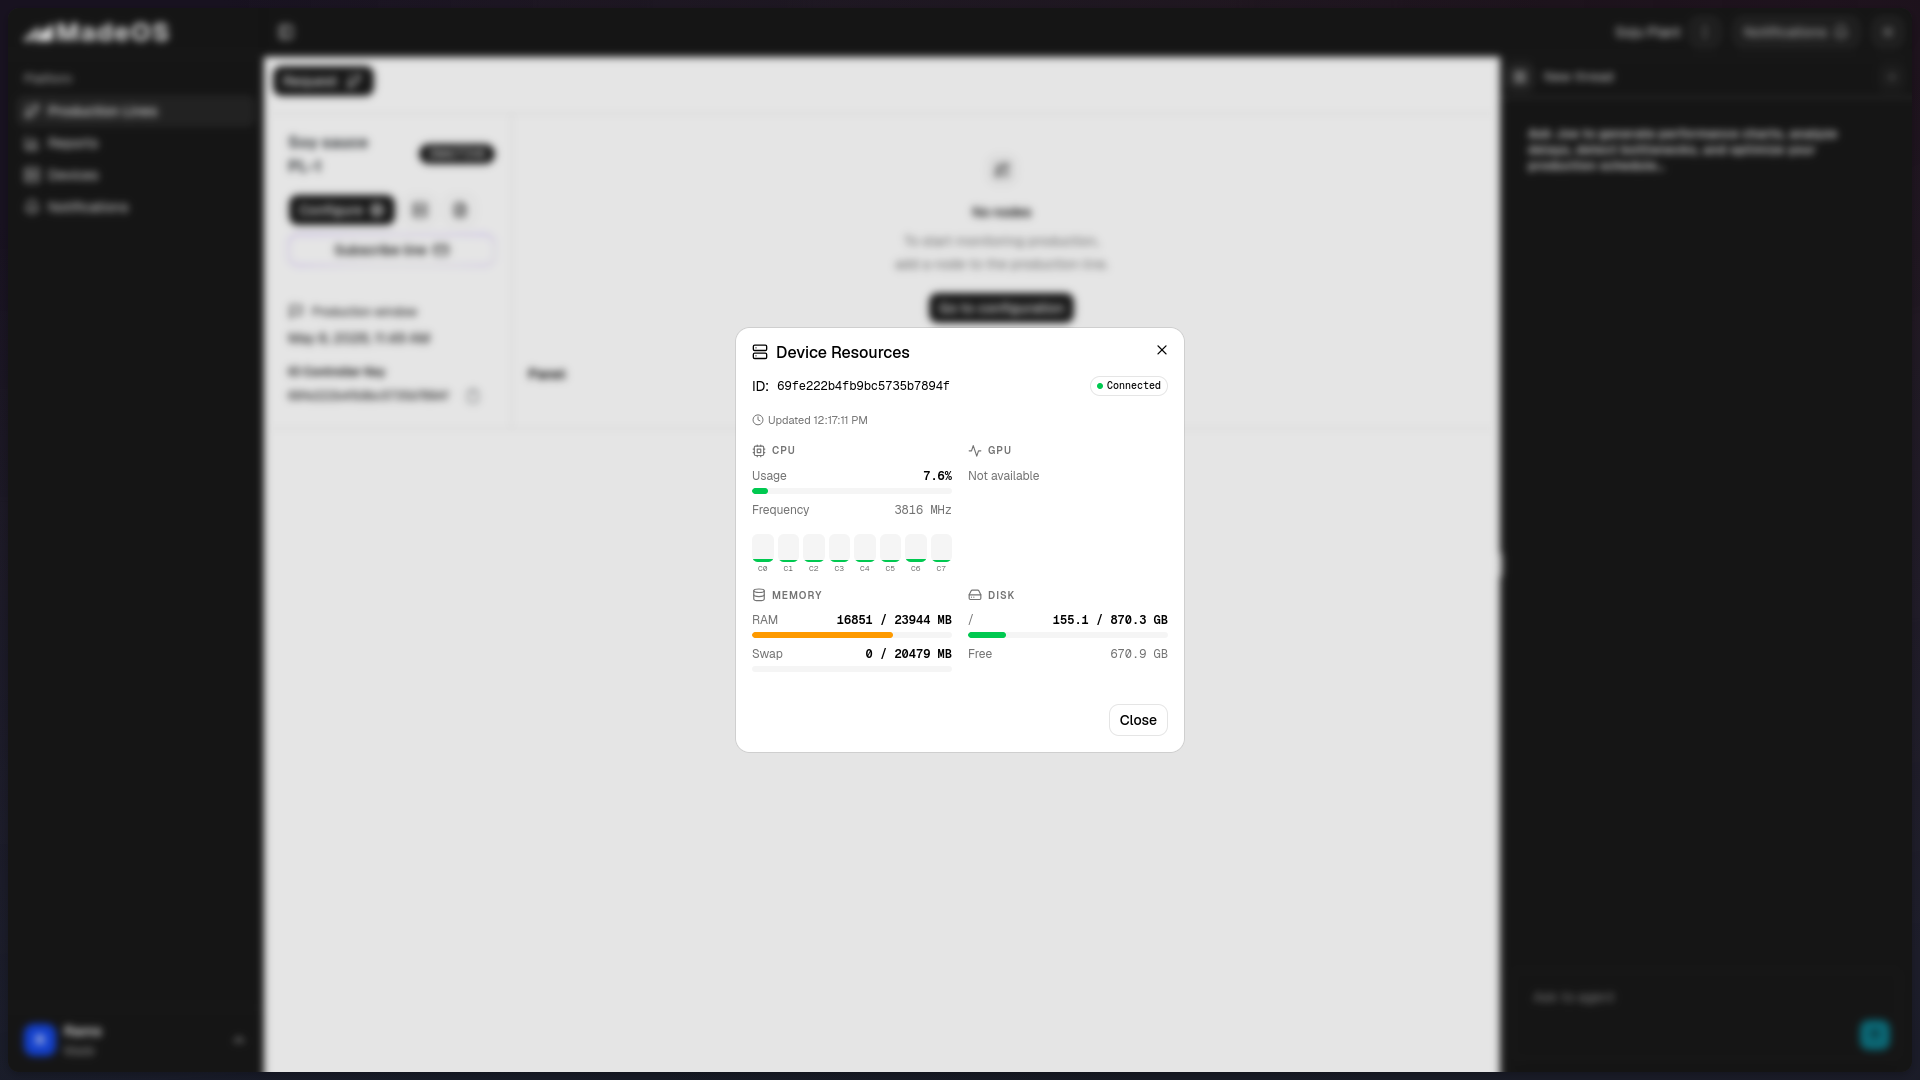
Now, you are ready to configure your Digital Twin.
Step 4 — Initial Configuration
After the data connection is established, you will need to configure your Digital Twin:
- Establish baseline normal behavior (nominal ranges per shift and product type)
- Define alert thresholds and risk prioritization rules
- Configure operator notification channels (web dashboard, WhatsApp, or email)
- Set up user accounts and role-based access
Step 5 — Go Live
On day one of live operation you will begin receiving:
- Anomaly alerts when operational drift is detected
- Risk-ranked event queue prioritizing intervention by impact and window
- Prescriptive actions — what to adjust, by how much, and when
The model accuracy improves over the first 60 days as it learns your facility’s specific behavior.